Student List
Edit Student Details
- — Basic Information:
- — Parent Information
- — Contact information
- — Document information
- — Qualification information
- — Sibling information
- — Account information
- — User login
- — Promotion History
- — Termination History
More Options
Once the student details are entered and saved and then it will displayed in Student Detail Refer figure
Edit Student Details
By edit student icon  you can make changes, to the existing information of the student and can also add more information of student in student details.
Basic Information
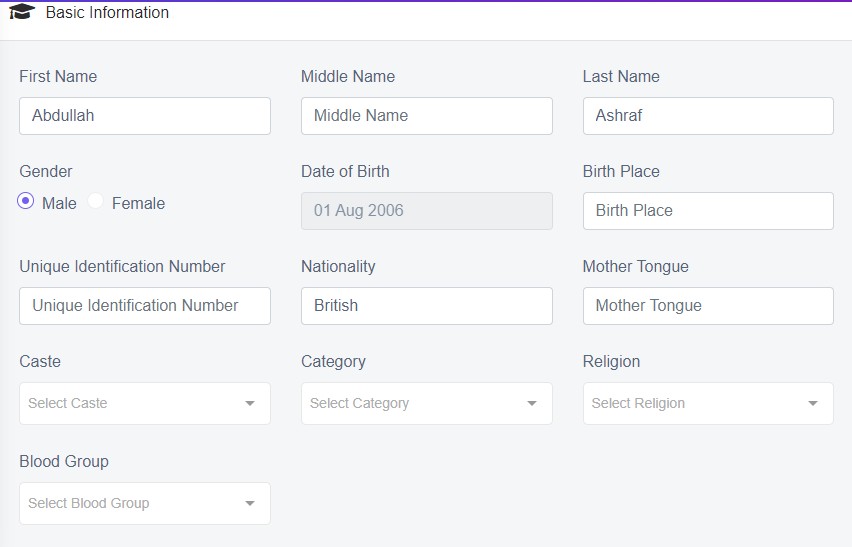
Figure 11
You can change the existing basic information and can also provide additional information to the respective form fields.
Birth place: enter the birth place of student.
Unique Identification Number: Enter unique identification number of student (if there)
Nationality: enter the nationality of student.
Mother Tongue: enter the language which student has grown up speaking from early childhood.
Caste: Select Caste certificate of student.
Category: select Category of the student.
Religion: select Religion of the student.
Blood Group: select Blood group of the student.
After all the necessary information is added and click ‘Save’ and a pop up in green will be displayed as Student Updated.
Edited student details and add the basic information of student and saved. The edited details will be changed and displayed on the view. So you can edit as many times as required. Refer figure
Parent Information
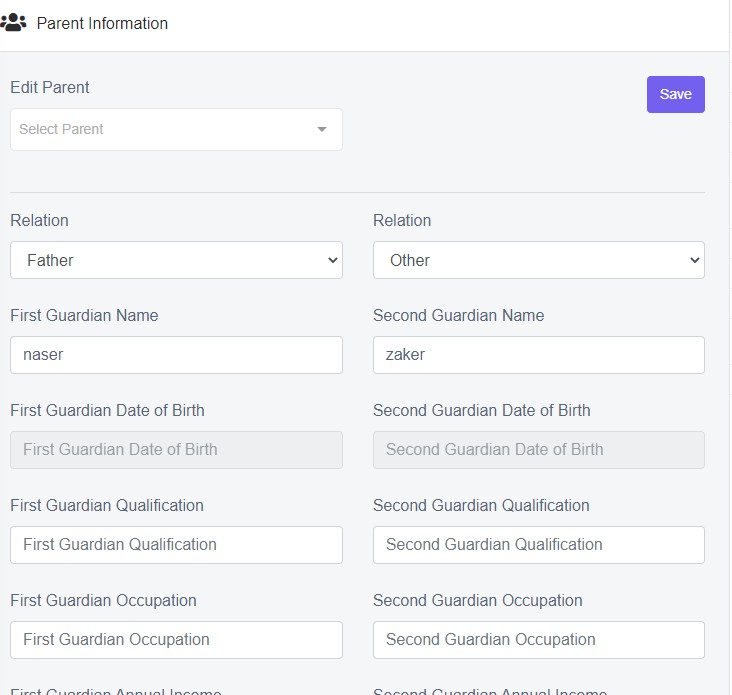
Figure 12
This tab is used to add and manage student's parent details at one place. You can change the existing parent information and can also provide additional information to the respective form fields.
Edit parent: select parent from the drop down list of existing parent to edit the parent of student.
After all the necessary information is added and click ‘Save’ and a pop up in green will be displayed as Student Updated.
Contact Information
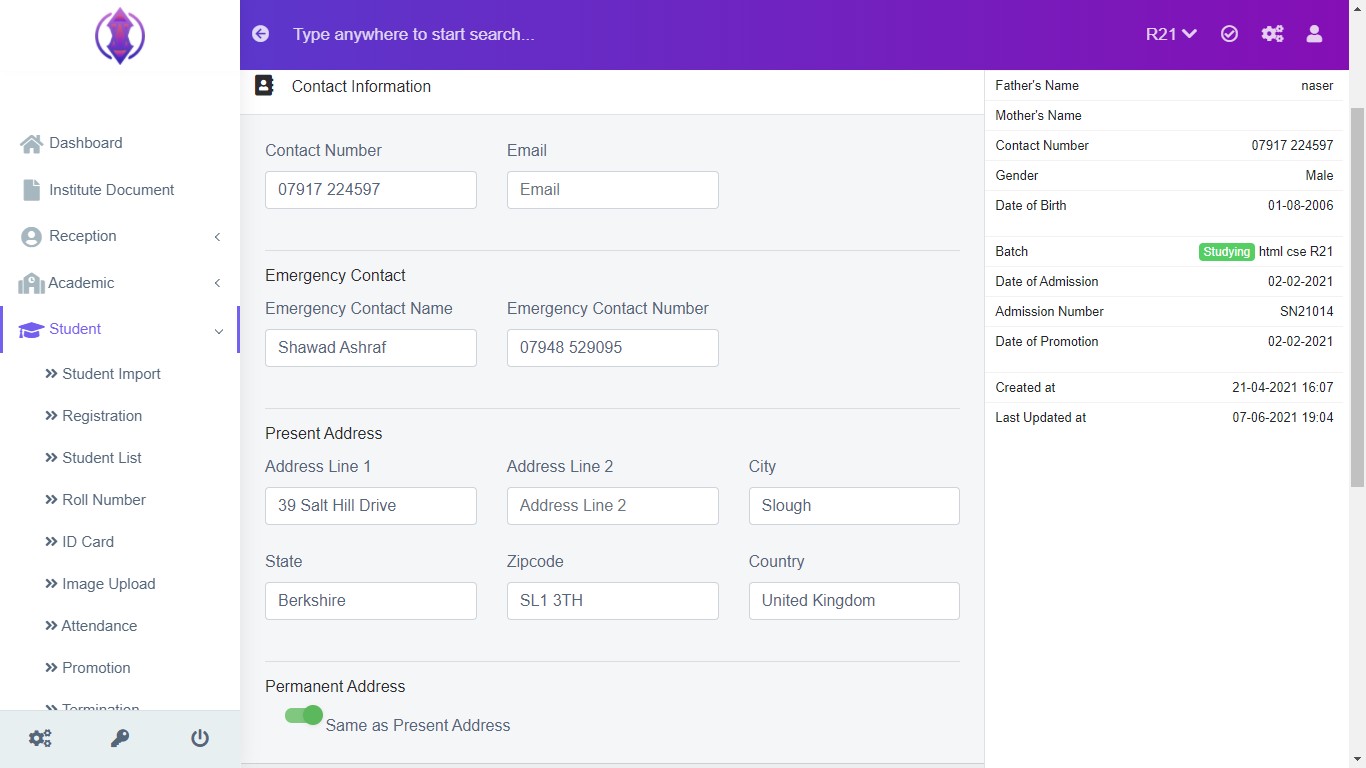
Figure 13
This tab is used to add and manage student's contact details at one place. You can change the existing contact information and can also provide additional information to the respective form fields.
Document Information
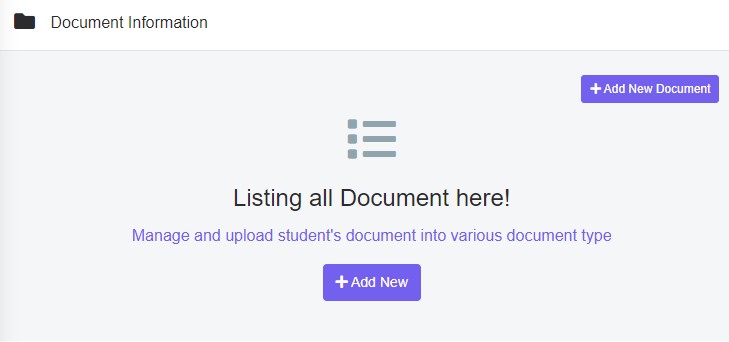
Figure 14
This tab is used to add and manage student's document into various document into various document type.
Add New Document: Click on Add New to upload a student document a pop up will be appeared as refer figure 15.
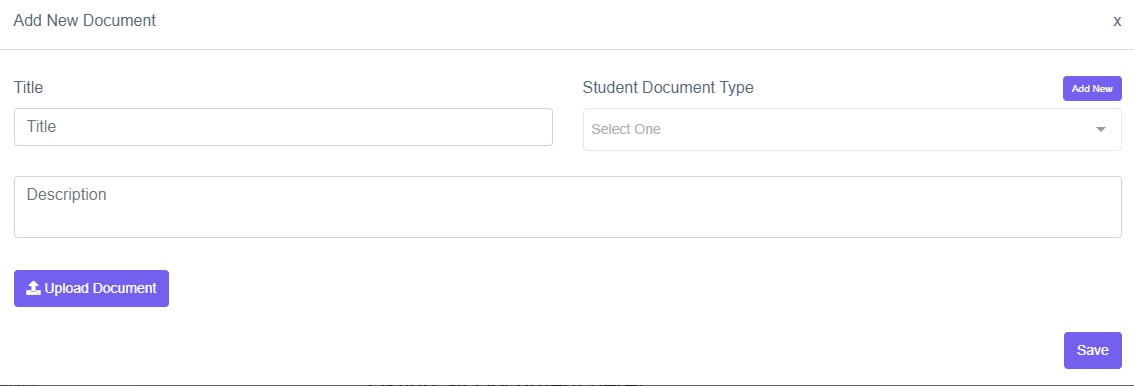
Figure 15
Enter the required information in the respective form fields and click ‘Save’ and a pop up in green will be displayed as Student Updated.
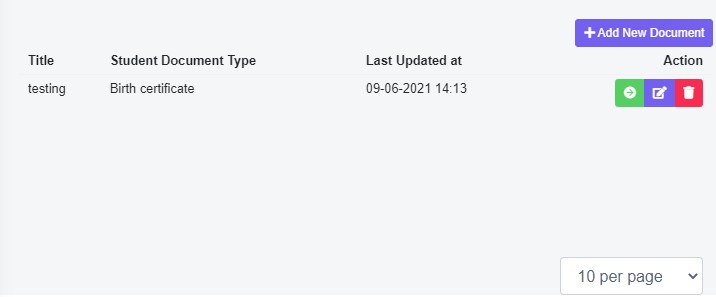
Figure 16
After the document is added the Add New Document will be shifted to the right side of the page refer in figure-16. You can also view, edit and delete the document in Action column.
Qualification Information
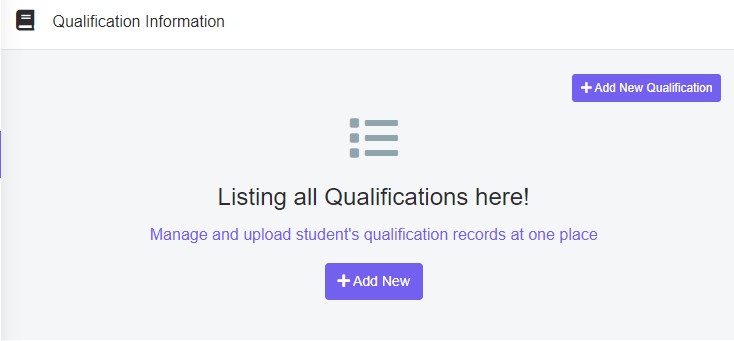
Figure 17
This tab is used to add and manage student's qualification records at one place.
Add New Qualification: Click on Add New to upload a student qualification a pop up will be appeared as refer figure-17.
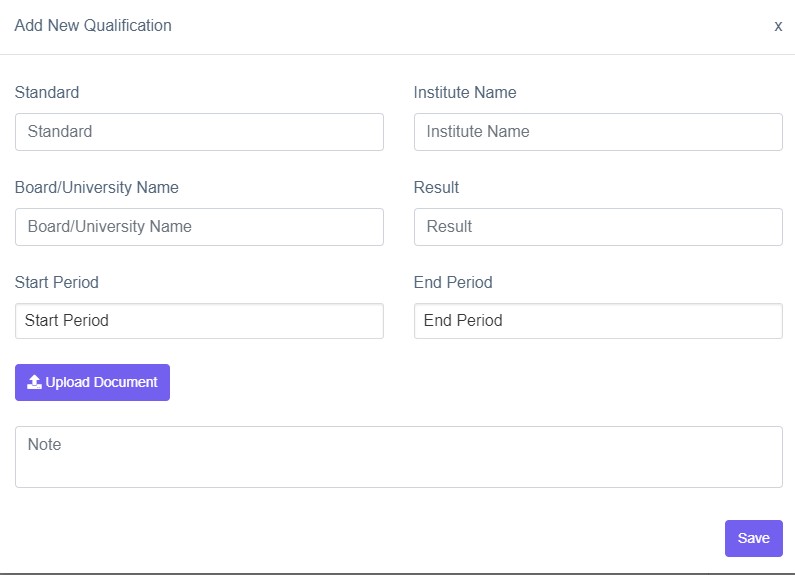
Figure 18
Enter the required information in the respective form fields and click ‘Save’ and a pop up in green will be displayed as Student Updated.
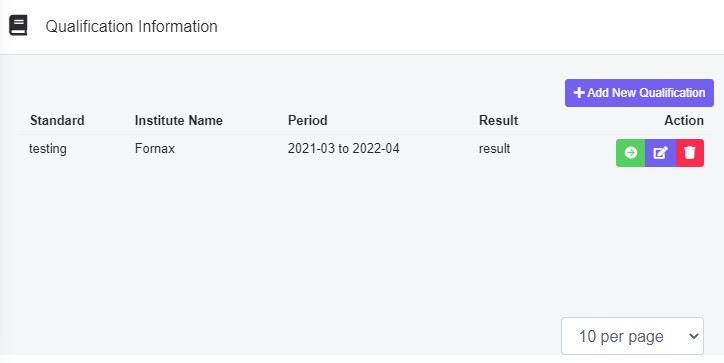
Figure 19
After the Qualification is added Add New Qualification will be shifted to the right side of the page as refer in figure-. You can also view, edit and delete the qualification from Action column.
Sibling Information
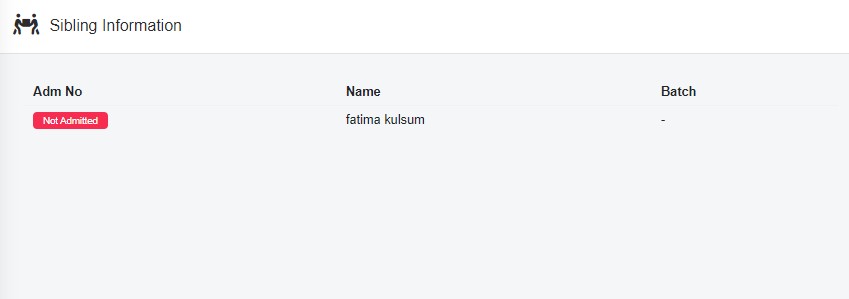
Figure 20
This tab is used to Get sibiling record of student at one place.
Account Information
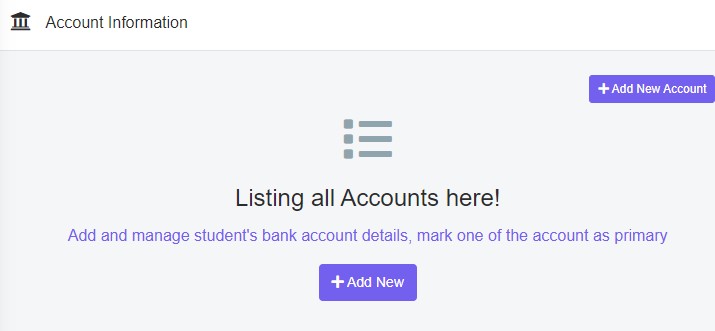
Figure 21
This tab is used to Add and manage student's bank account details, mark one of the account as primary.
Add New Account: Click on Add New to add student account information a pop up will be appeared as refer figure-22.
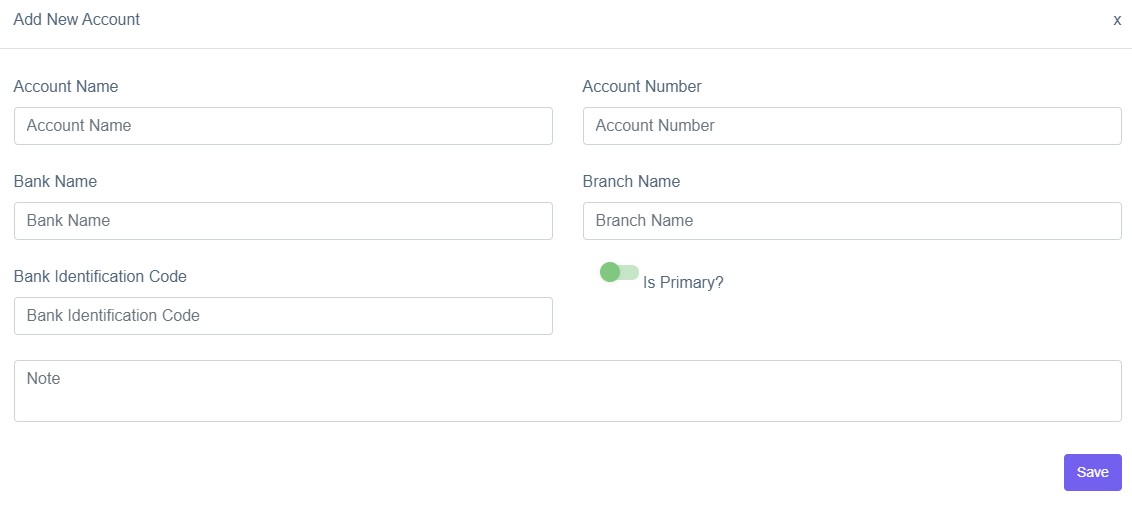
Figure 22
Enter the required information in the respective form fields and click ‘Save’ and a pop up in green will be displayed as Account Updated.
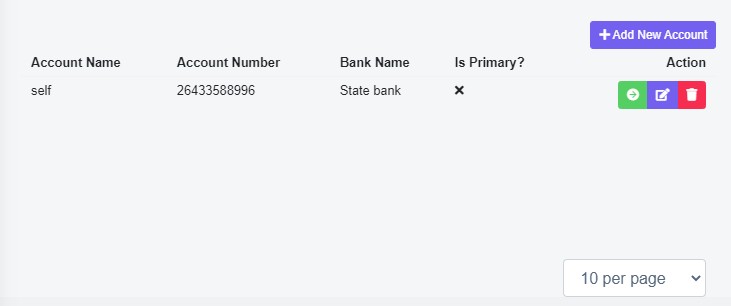
Figure 23
After the Account is added Add New Account will be shifted to the right side of the page as refer in figure-23. You can also view, edit and delete the Account from Action column.
User Login
This tab is used to provide student/parent login.
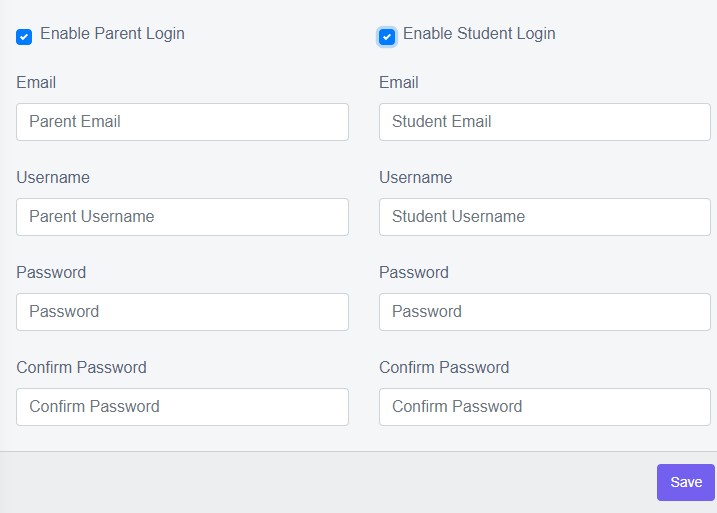
Figure 24
Enter the required information in the respective form fields and click ‘Save’ and a pop up in green will be displayed as Student Updated.
Promotion History
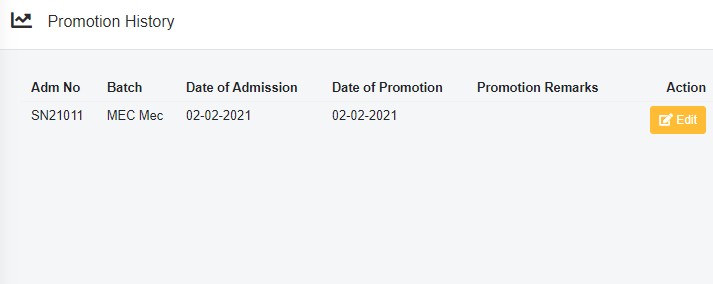
Figure 25
Promotion is the promoting a student to the next grade after the current school year, regardless of if they learned the necessary material .Promotion history will show you the history of amount of time the student spent sitting in school.
By edit icon  you can make changes, to the existing data of student.click on edit button to change the promotion history a pop up will be appeared as refer in figure -26.
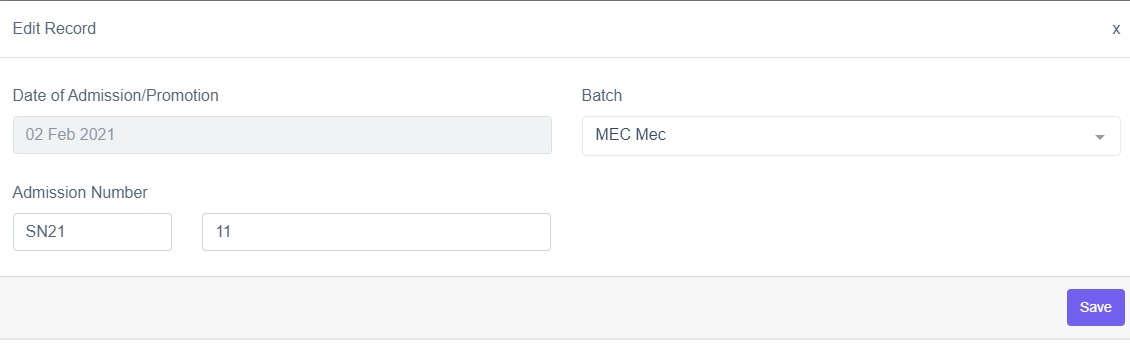
Figure 26
Enter the required details in form fields and click ‘Save’ and a pop up in green will be displayed as Student Updated.
Termination History
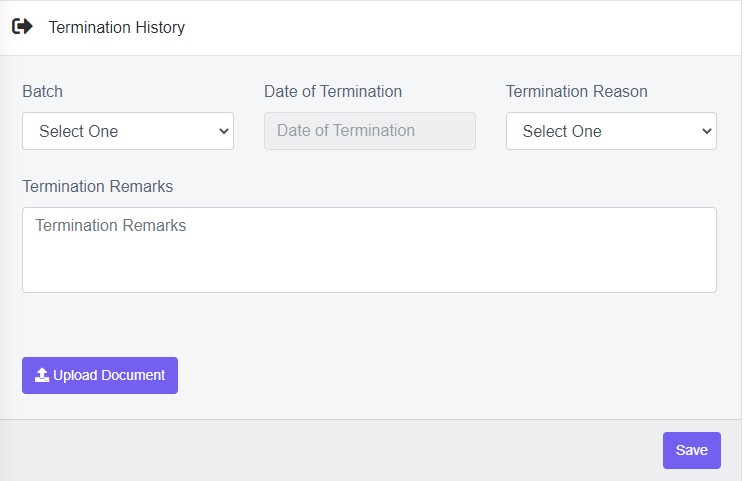
Figure 27
A terminated record in the Student could indicate that the school management will no longer maintains the information of student. To terminate the student fill the termination history form field.
Batch: Select the batch of student from the drop down list.
Date of Termination: Choose the date of termination for the student.
Termination Reason: Select the reason of termination from the drop down list.
Termination Remarks: Enter the remarks as required.
Upload Document: click  icon to upload a document from the device.
Click ‘Save’ and a pop up in green will be displayed as
Student Updated.
More Options
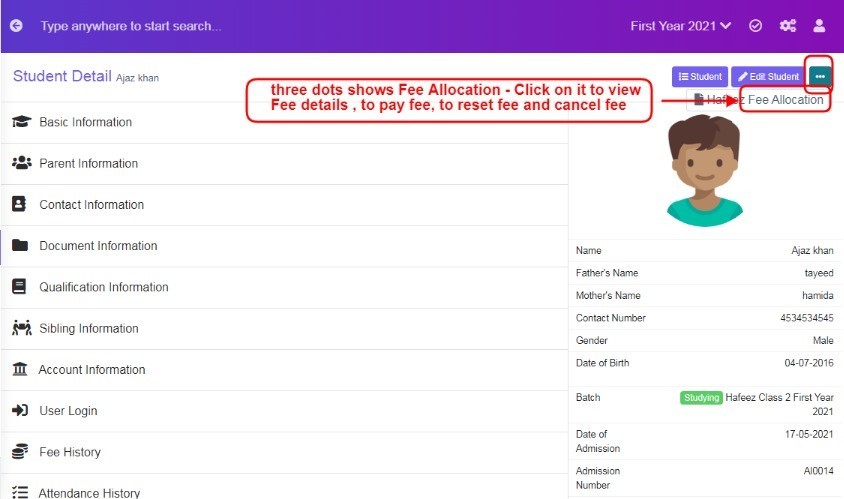
Figure 28
Click on three dots, it displays Fee Allocation, Click on it to view Fee details, to pay fee , to reset fee or to cancel fee payment. For more information refer to Finance Tab - Report - Fee Summary Report.