Holiday
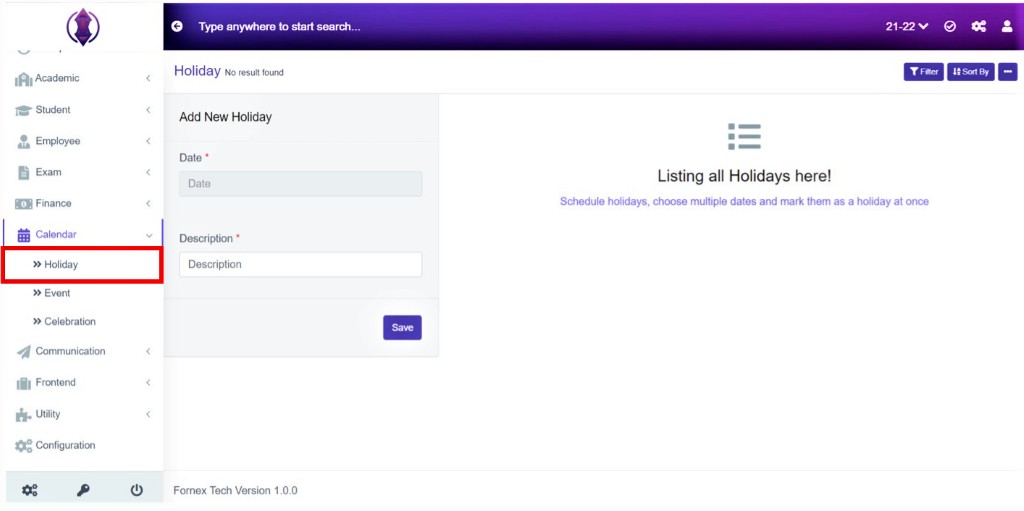
Figure 1Schedule holidays, choose multiple dates and mark as a holiday at once. See figure 2.
Add New Holidays
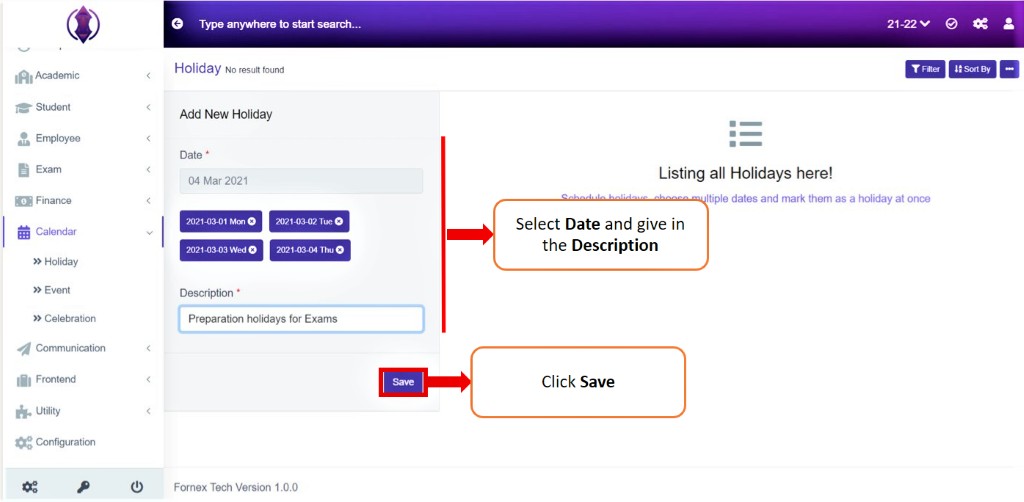
Figure 2Select multiple dates or a single date (in case of emergency), give in the Description and click Save.
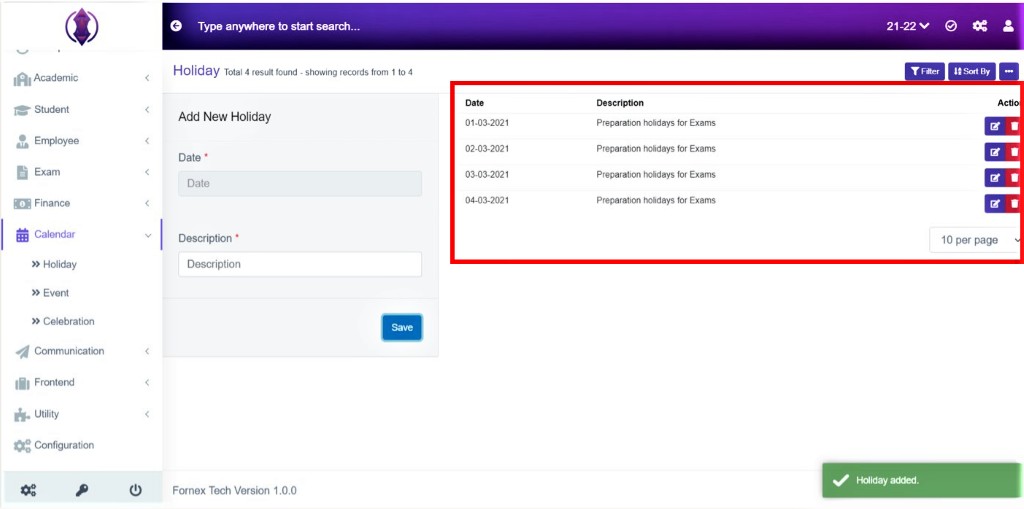
Figure 3After the required information is entered, click “Save”, a popup message appears in Green as “Holiday added”, refer figure:3. Once the Holidays are saved all information can be viewed at one place, in Table List View.
Data Table View Description:

Figure 4Once the Holidays are saved all information can be viewed at one place, in Table List View.
Edit Document:
To edit the existing holiday click icon  and you will be directed to a new screen to Edit Holiday. See figure 5.
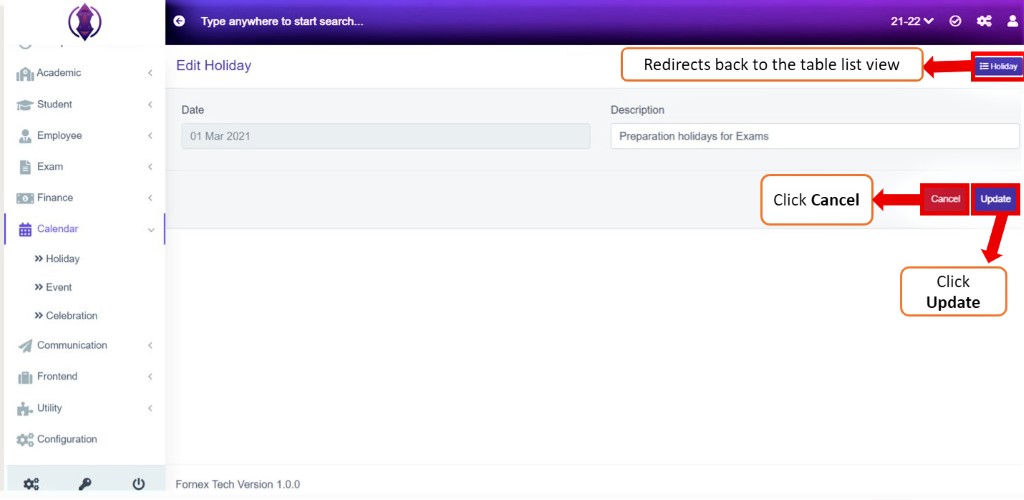
Figure 5
Fill the required fields that are to be edited. Once done, click ‘update’, to save the changes.
Holiday on top-right side of the page redirects you back to the table list view of the holidays.
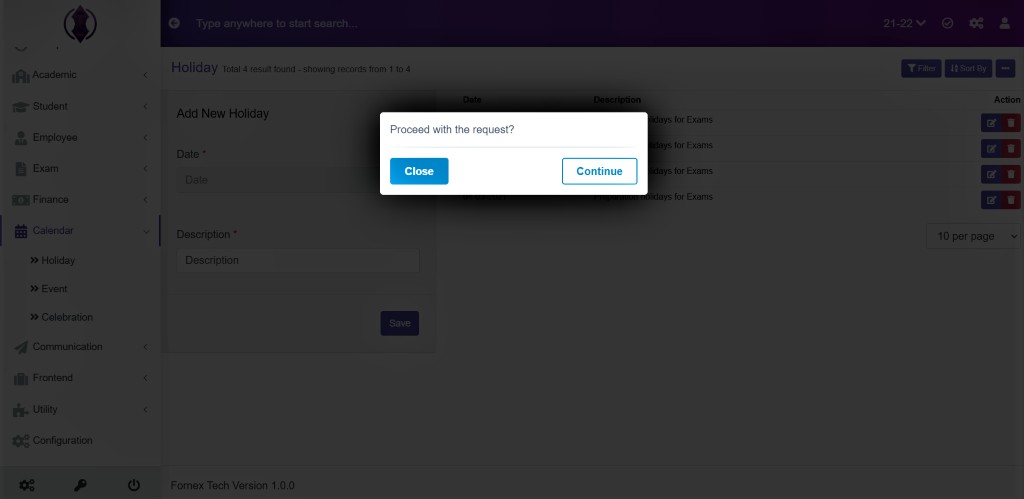
Figure 6Delete Document:
If you want to delete, the saved holiday details forever, click delete icon  and a pop-up screen comes up, asking for your confirmation
  to proceed with the request, refer to figure 6, click,” continue" if you want to delete the data or click, ”close” to go back to the table list view. Date will get deleted from the database and it cannot be retrieved again.