Student Document Type
Student Document Type
To Add New Student Document Type
Form Fields Description
- — Name & Description
Data Table View Description
- — Name & Description
- — Add New Student Document Type Tab
- — Edit Student Document Type
- — Delete Student Document Type
Define document types to specify a student document such as "Birth Certificate", "Transfer Certificate", Residence. address Proof, Passport, etc. while uploading a document.
To Add New Student Document Type:
.png)
Figure 10Click on ‘Add New’ tab to add Student Document Type, refer figure:10, a screen will be displayed, refer figure:11, enter the data in respective form fields.
Form Fields Description:
Name & Description:
0.2.png)
Figure 11Enter a name for the Student Document Type.
It is to give description to the Student Document Type, in detail. If this field is left empty, in the data table view, description column will be empty, refer figure:12. This field is optional.
After the required information is entered, click ‘Save’, “Student Document Type added", green popup screen will be displayed on the bottom right hand side of the screen.
Once the Student Document Types are saved, all the added Student Document Type information can be viewed at one place, at front–end, in data table list View, refer figure:12 – Data table View.
Data Table View Description:
0.3.png)
Figure 12Name & Description:
Displays name for the Student Document Type.
It is to give description to the Student Document Type, in detail. If this field is left empty, in the data table view, description column will be empty, refer figure:12. This field is optional.
Add New Student Document Type Tab:
If you have already added Student Document Type, from the middle of the screen, the “Add New tab”, will get shifted to the top-right hand side, of the page title bar – “Add New Student Document Type”, and Data Table View is displayed with different columns of data.
Edit Student Document Type:
To edit the existing Student Document Type, click  icon and a screen will be displayed to Edit Student Document Type. Fill the required information, to do the changes to the form fields. Once done, click ‘update’, to save the changes. “Student Document Type updated”, green popup notification will be displayed on the bottom right hand side of the screen.
Delete Student Document Type:
To delete , the saved Student Document Type, click delete  icon and a pop up screen comes up, asking for your confirmation
 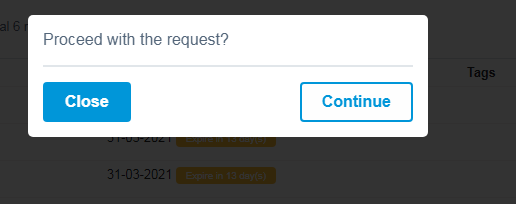 to proceed with the request, click, continue, to delete the data or click close to go back to the data table view. Data will get deleted from the database and it cannot be retrieved again.
You can use, Sort By List and more options - Print and Generate PDF, to view and print, the displayed data table, according to your requirements.