Course Group
Course Group
To Add New Enquiry Type
Form Fields Description
- — Name & Description
Data Table View Description
- — Course Column
- — Add New Course Group Tab
- — Reorder Course Group
- — Edit Course Group
- — Delete Enquiry Source
Create groups for courses like "Kindergarten", "Pre-Primary", "Primary", "Senior High", "Short Term" etc., and add multiple courses per group. This field is mandatory for main module.
Ex: Highlighted in Blue below, Course Groups
| Course | Course Group | Batch |
|---|---|---|
| Grade 1 | Primary | Section A Section B |
| Grade 5 | Secondary | Section A Section B |
| Hafeez | Class For Moms Junior Class Senior Group |
Morning Classes for Moms Junior Section A Weekend Classes for Dads Senior Class 1 |
| Maqtab | Class For Dads Senior Course Group Senior Group |
Weekend Classes for Dads Senior Evening Batch Junior Class 1 |
To Add New Course Group:
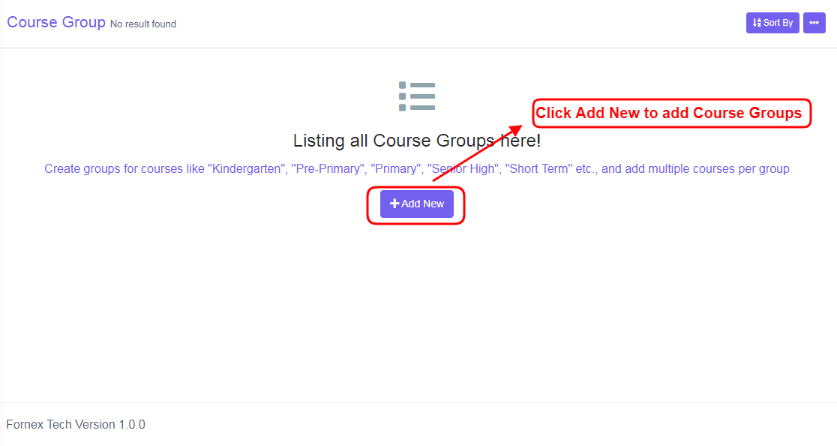
Figure 4Click on Add New tab to add course groups, refer figure:4, a screen will be displayed, refer figure:5, enter the data in respective form fields.
Form Fields Description:
Name & Description:
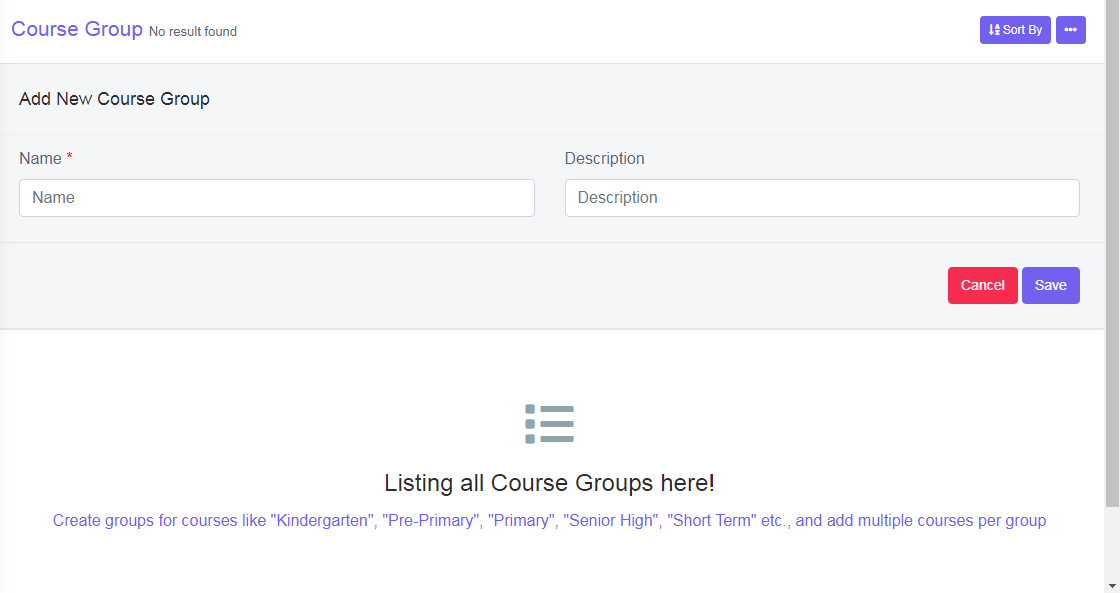
Figure 5Enter a name for the course group.
It is to give description to the course, in detail. If this field is left empty, in the data table view, description column will be empty, refer figure:6. This field is optional.
After the required information is entered, click ‘Save’, “Course group added", green popup screen will be displayed on the bottom right hand side of the screen .
Once the course groups are saved, all the added course group information can be viewed at one place, at front–end, in data table list View, refer figure:6 – Data table View.
Data Table View Description:
Course Column
).png)
Figure 6)0.1.png)
Figure 7Initially, Course Column is empty, refer figure:6 and it should be created in the front-end, for more details, refer Academic Main Module.
Once courses are created, it displays, names of the created course, to their respective course group, refer figure:7.
Add New Course Group Tab:
If you have already added a course, from the middle of the screen, the “Add New tab”, will get shifted to the top-right hand side, of the page title bar – “Add New Course Group”, and Data Table View is displayed with different columns of data.
Reorder Course Group:
)0.2.png)
Figure 8This tab is used to reorder course group. Ex: Moms Group to be moved to top, it can be re-order as required, refer figure:8, and click ‘Save’, to confirm the changes. A green notification pops up confirming, “Course group updated”.
Edit Course Group:
To edit the existing course group, click  icon and a screen will be displayed to Edit course group. Fill the required information, to do the changes to the form fields. Once done, click ‘update’, to save the changes. “Course group updated”, green popup notification will be displayed on the bottom right hand side of the screen.
Delete Course Group:
To delete , the saved course group, click delete  icon and a pop up screen comes up, asking for your confirmation
 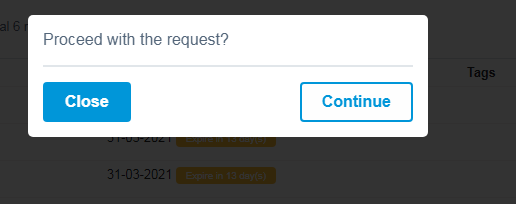 to proceed with the request, click, continue, to delete the data or click close to go back to the data table view. Data will get deleted from the database and it cannot be retrieved again.
You can use, Sort By List and more options - Print and Generate PDF, to view and print, the displayed data table, according to your requirements.