Domain Installation Process
Activation Key In Email
Domain Installation Wizard
- — Account Tab
- — Company Tab
- — Mail Tab:
- — Read to Go! Tab
Waiting Time For Domain Installation
Installation Complete
Login Page Of Your Domain
Activation Key In Email
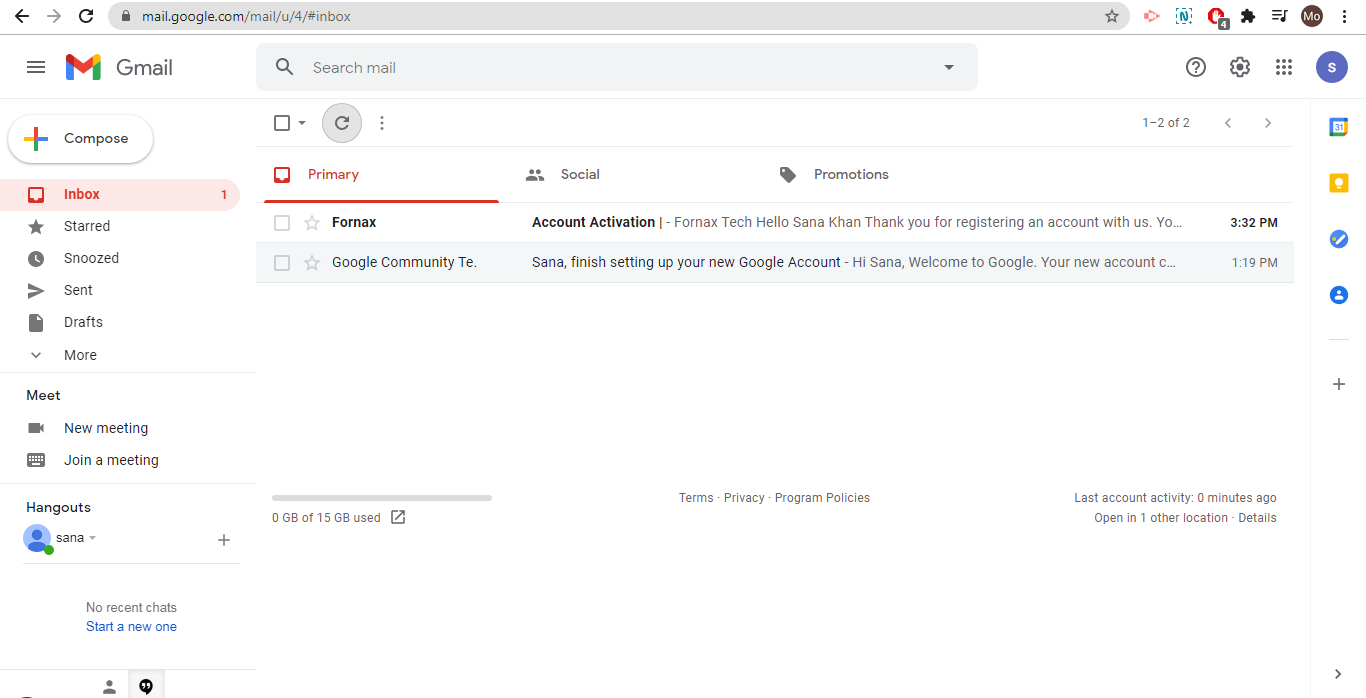
Figure 6To install your school management system domain, Go to your email, which was entered in the signup form. You will receive an email subject as ‘Account Activation’. Click on the received email. Refer figure:6.
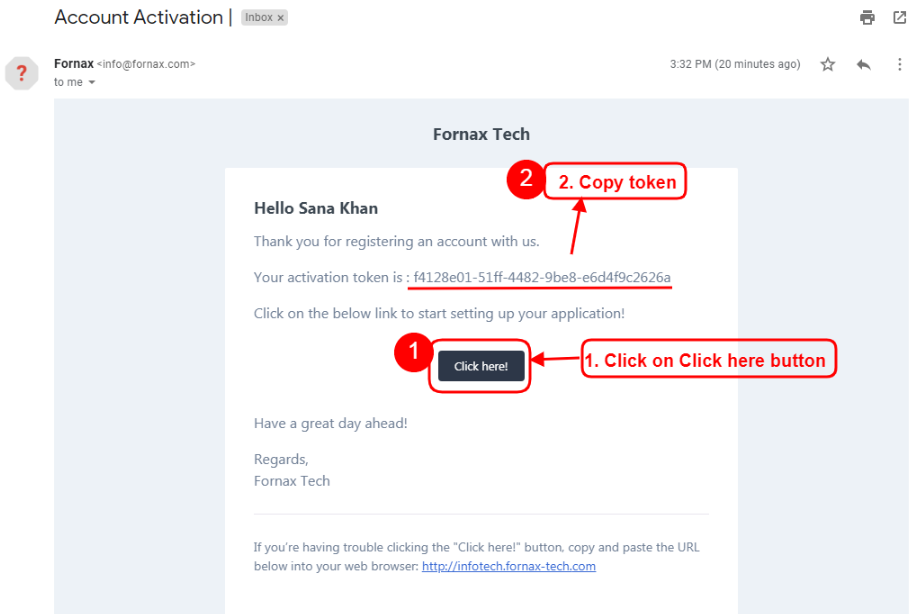
Figure 7In email, click on ‘Click here!’ and a new tab will be opened. Now, you will be in the process of domain installation. Refer figure:7.
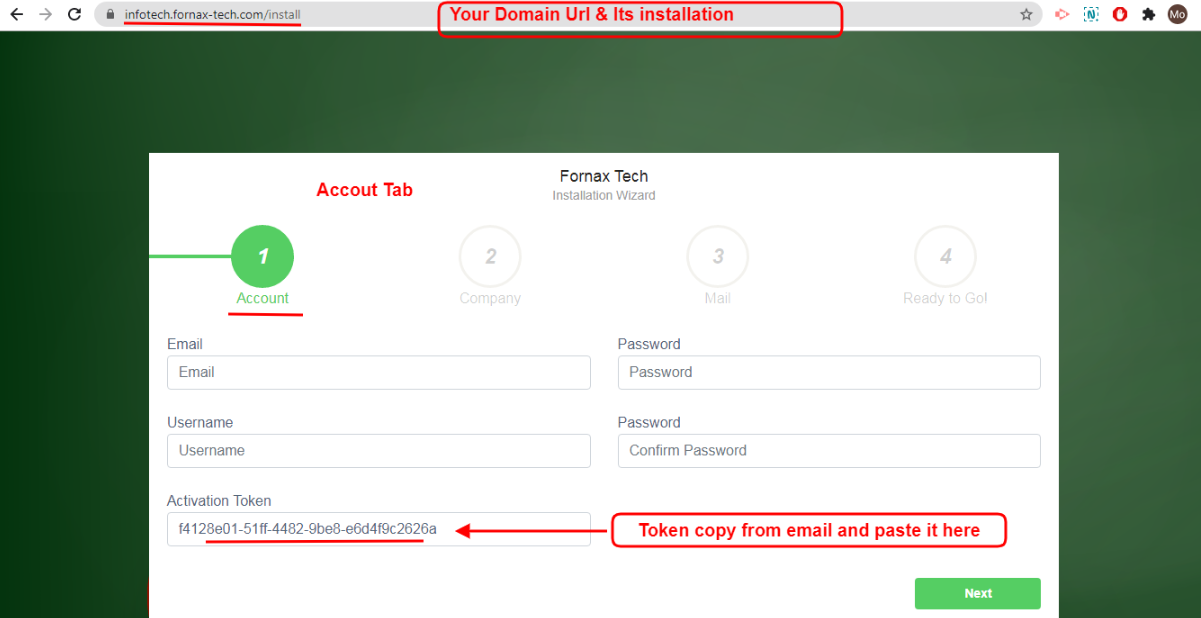
Figure 8In the url bar, your domain name is displayed, which was created in the signup form and from here, the domain installation process will proceed further.
Domain Installation Wizard
Account Tab:
In this tab, enter your activation token, which was received in your email and also create user username and password.
Email:Enter the email address. It can be a person’s or business email address, who wants to use it, to maintain domain and assign more roles and permissions to their employees.
Ex: Principal - personal email or business email, principal as a domain super admin user, can create and add, one or more roles and permission to your employees and employees becomes as an admin user.
Username: Enter the user name. Super Admin Account User name.
Password: Enter the password and confirm password again. Super Admin Account password.
Activation Token: Copy the activation token, which is received in your email and paste it here. If the token is not entered, the installation process will not go through.
Once the required data is entered in the account tab, click ‘Next’.
Company Tab:
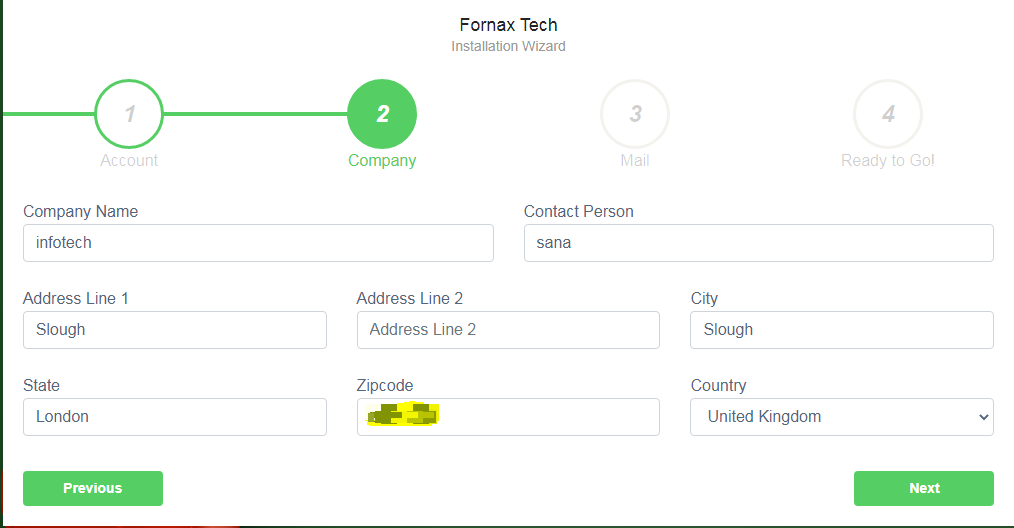
Figure 9In this tab, you should provide your business details. Enter your, Company Name, Contact Person Name, Address Line 1, Address Line 2, city, state, zipcode and country and once the required data is entered in the account tab, click ‘Next’. Refer figure:9
Mail Tab:
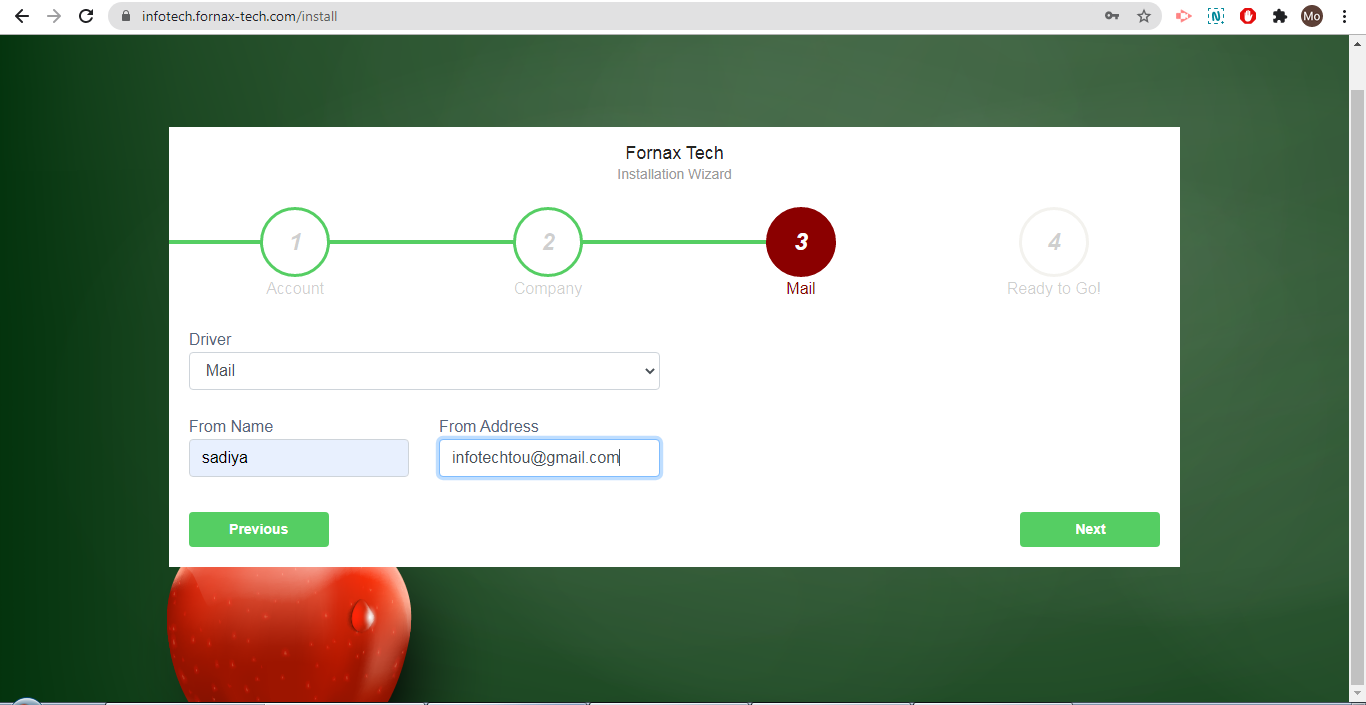
Figure 10
In this tab, enter the email setting details, which is used in the school management system, to send emails to students, parents and employees. Refer figure:10.
Driver: Select Driver from the below options,
Log: Enter data in respective fields.
Mail: Enter data in respective fields.
Sendmail: Enter data in respective fields.
Mailgun: Enter Data in respective fields.
Mandrill: Enter Data in respective fields.
SMTP: Enter Data in respective fields.
Once the required data is entered in the Mail tab, click ‘Next’.
Read to Go! Tab:
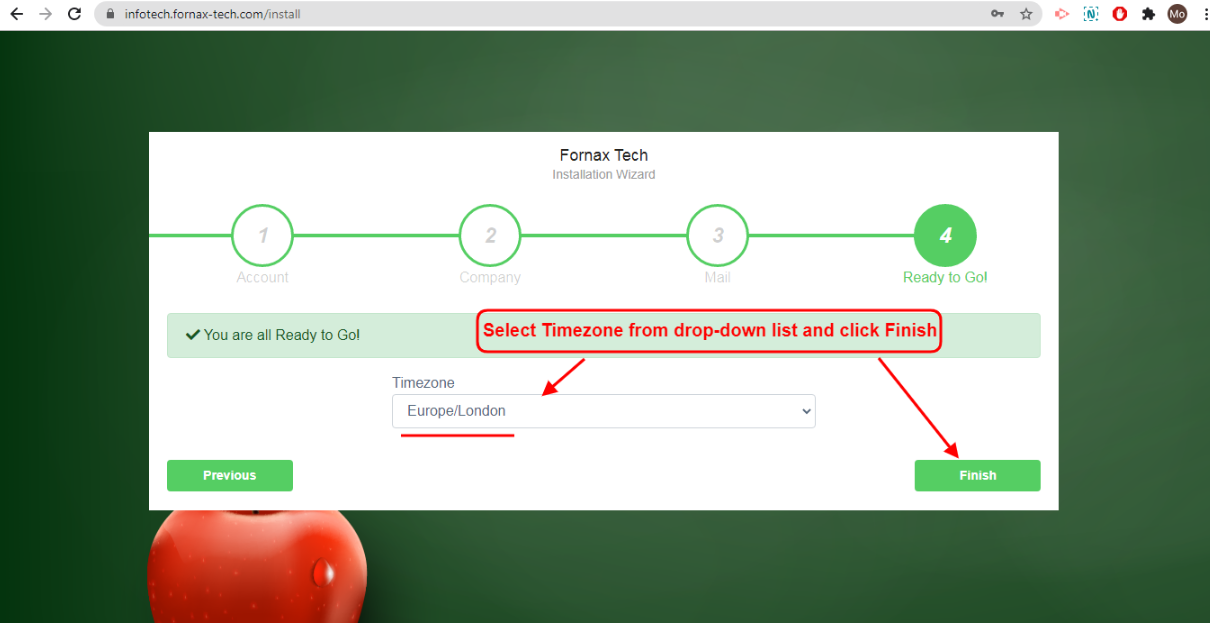
Figure 11Select time-zone from the drop down list and click ‘Finish’. Clicking Finish will start the installation process. Refer figure:11.
Waiting Time For Domain Installation
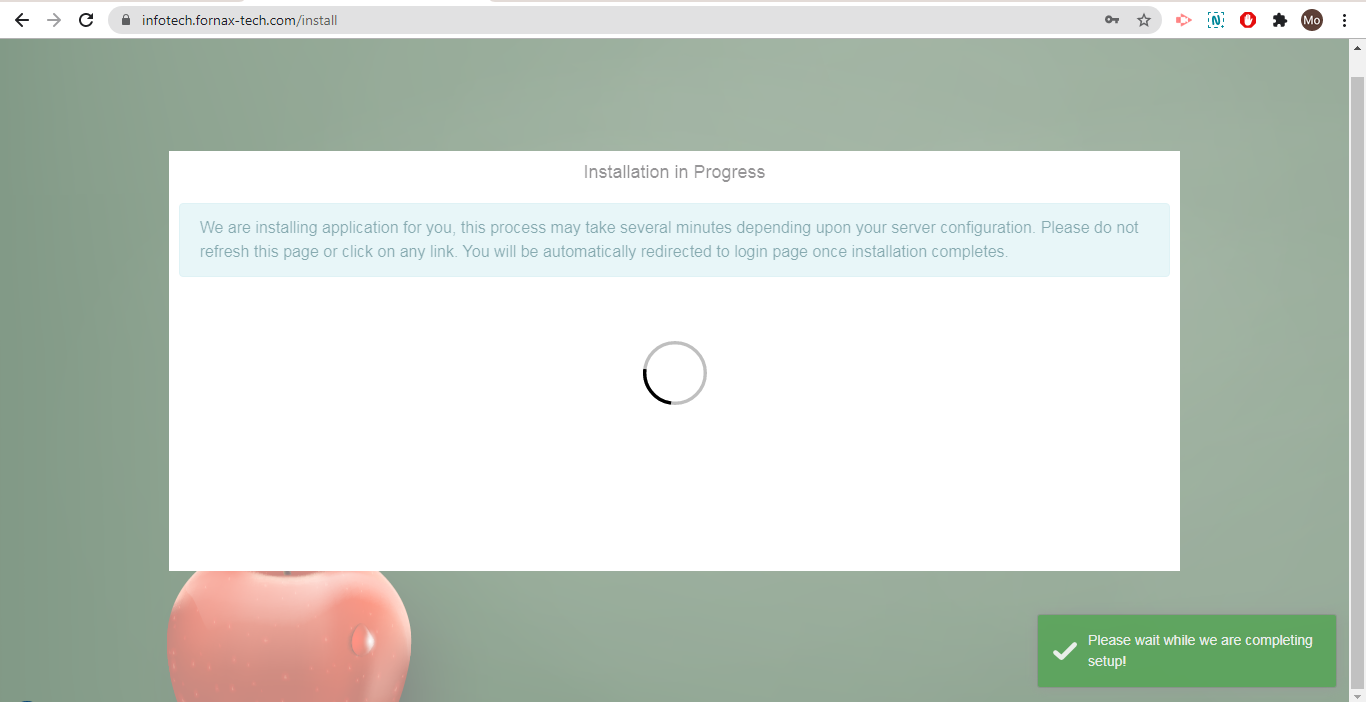
Once you click finish button of the ready to go tab, you will have a loading page, at the background
Header Message: Installation in Progress.
Below Header Message: We are installing an application for you, the process may take several minutes depending on your server configuration. Please do not refresh this page or click any link. You will be automatically redirected to the login page once installation completes.
Green Pop-up Message: Please wait while we are completing the set up!
Waiting Time for Domain Installation: A green notification pops up on bottom right side of screen notifying as **Please wait while we are completing setup**.
Wait for about 2-3 minutes, for installation setup to complete.
Installation Complete
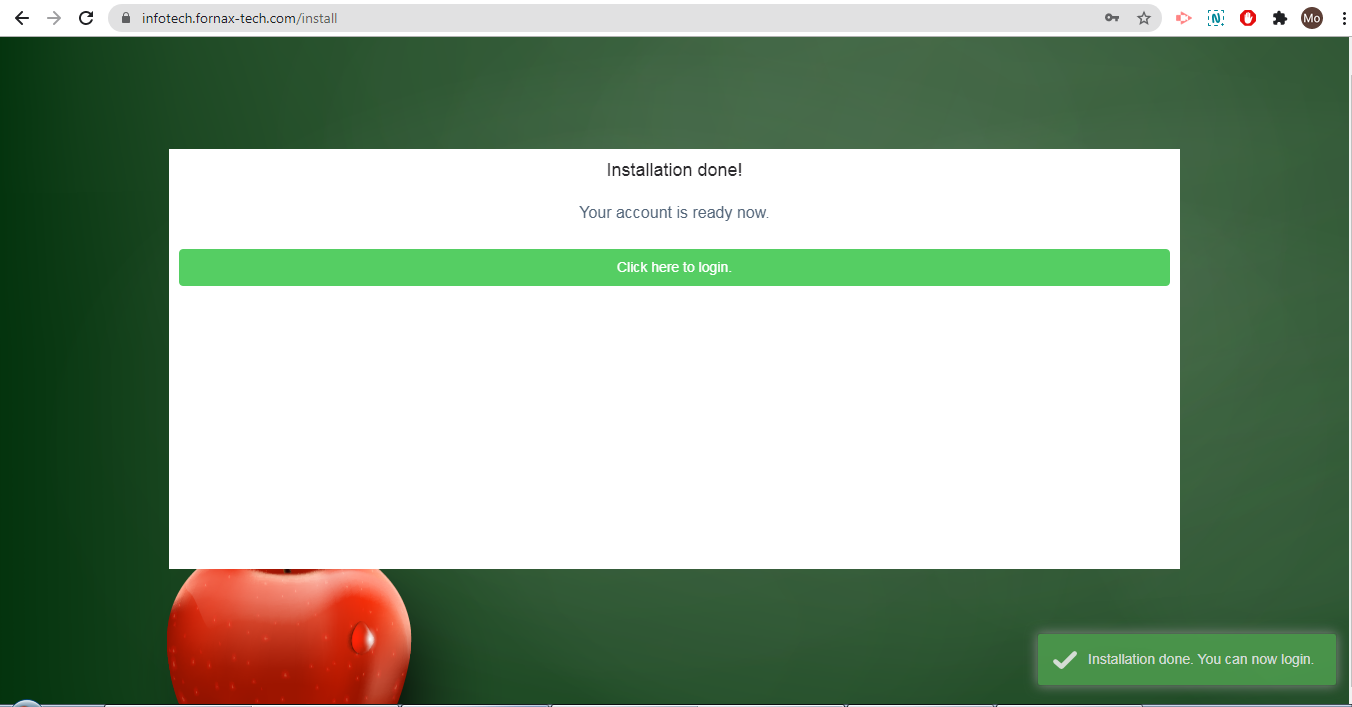
Figure 12Once the setup is complete, a header message is displayed, confirming Installation is done and your account is ready now. Bottom right of screen, a green popup message confirms Installation done! You can Login now..
Refer figure:12. Click on ‘Click here to login’ and you will be redirected to the login page of your domain.
Login Page Of Your Domain
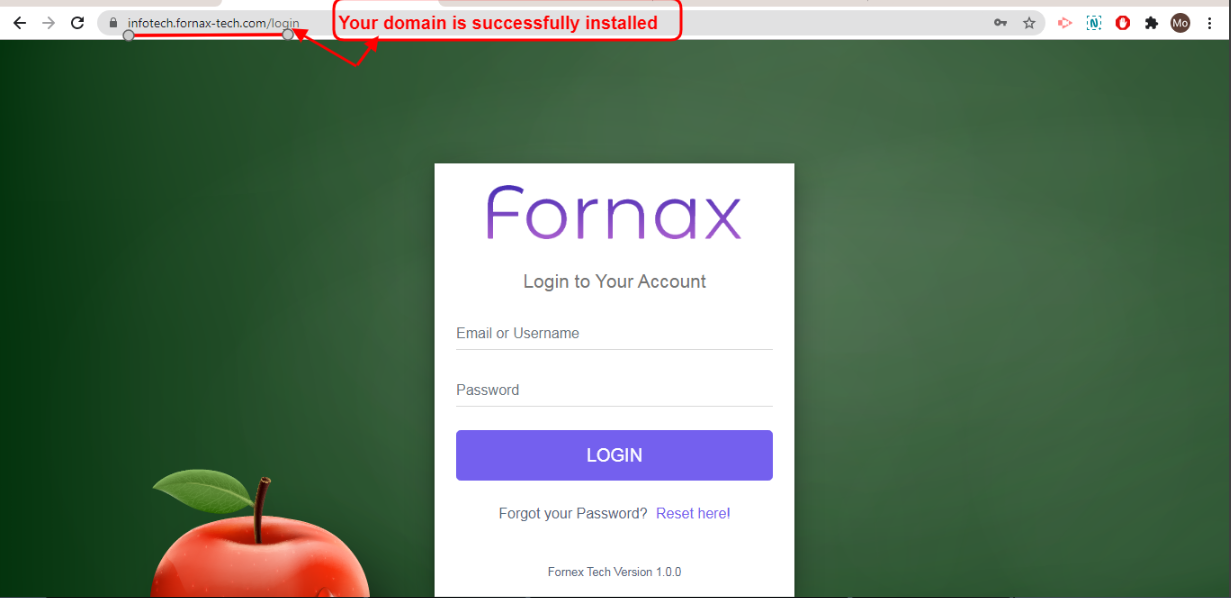
Figure 13Your Domain, is created and is successfully installed, refer figure:13. Now you can login to Super Admin Account with those credential you used during installation and access the management system for your daily activities.